.svg)

Today, Wix is the most popular website builder platform in the world, and that’s thanks to its vast array of features, add-ons, and beautiful designs. Most importantly, it is easy to use. However, the amount of features can be daunting to a new user. But don’t fret! We are here to help. In this guide, we will show you how to build your very own custom website using 7 simple steps.
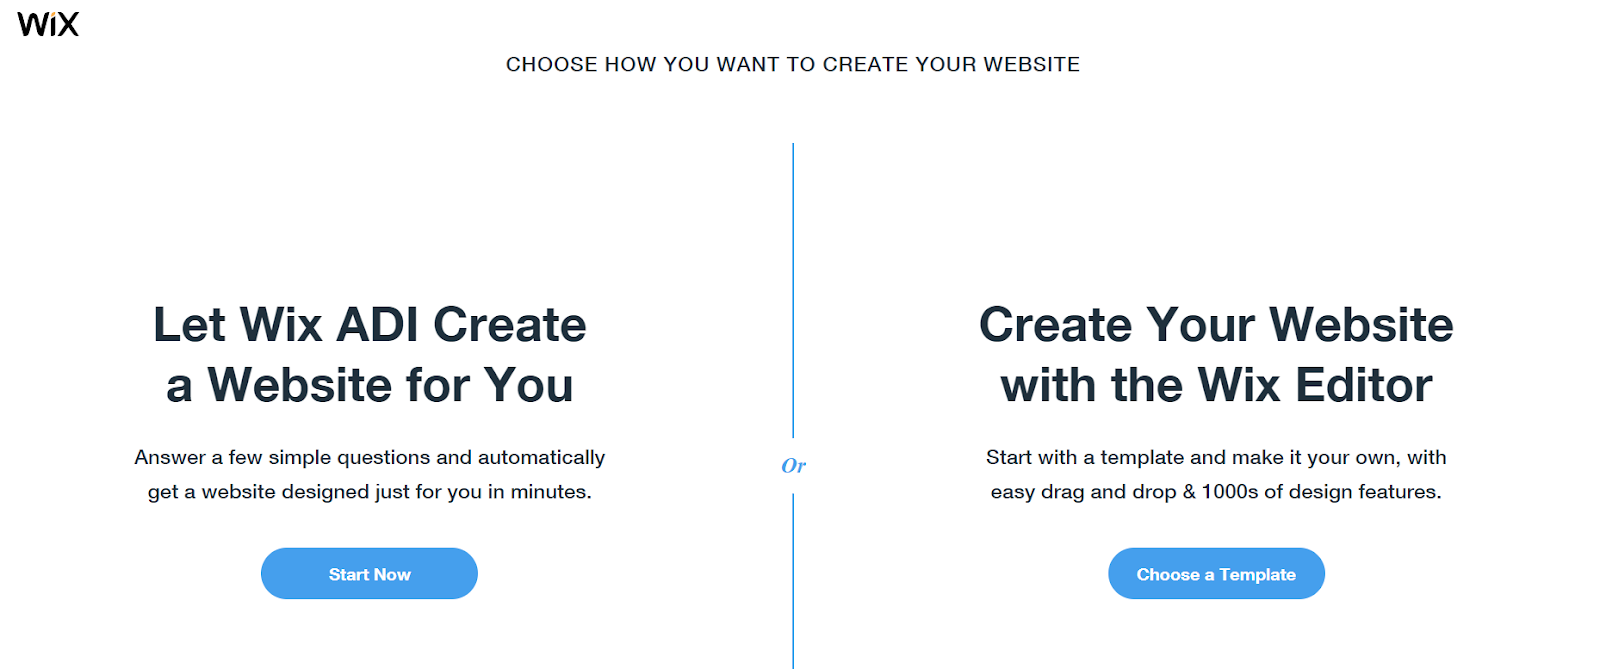
There are 2 ways to create a website on Wix, Wix ADI (Artificial Design Intelligence) and Wix Editor. For this tutorial, we will be using Wix Editor. Be sure to keep an eye out for future posts to learn more!
Step 1: Sign Up
Once you’ve chosen Wix as your website builder platform, the first step to take would be to create an account. We recommend using your Facebook or Google account to sign up! Alternatively, you could also use your email.
Step 2: Choose a Template
After you’ve signed up, you can start creating your website! To get started, simply click Create New Site on the top right corner of the dashboard. Wix will now ask you what kind of website you want to create, simply type in your keywords in the search bar to search for relevant templates.

These can range from online portfolios to e-commerce shops and booking sites. After that, select Wix Editor.
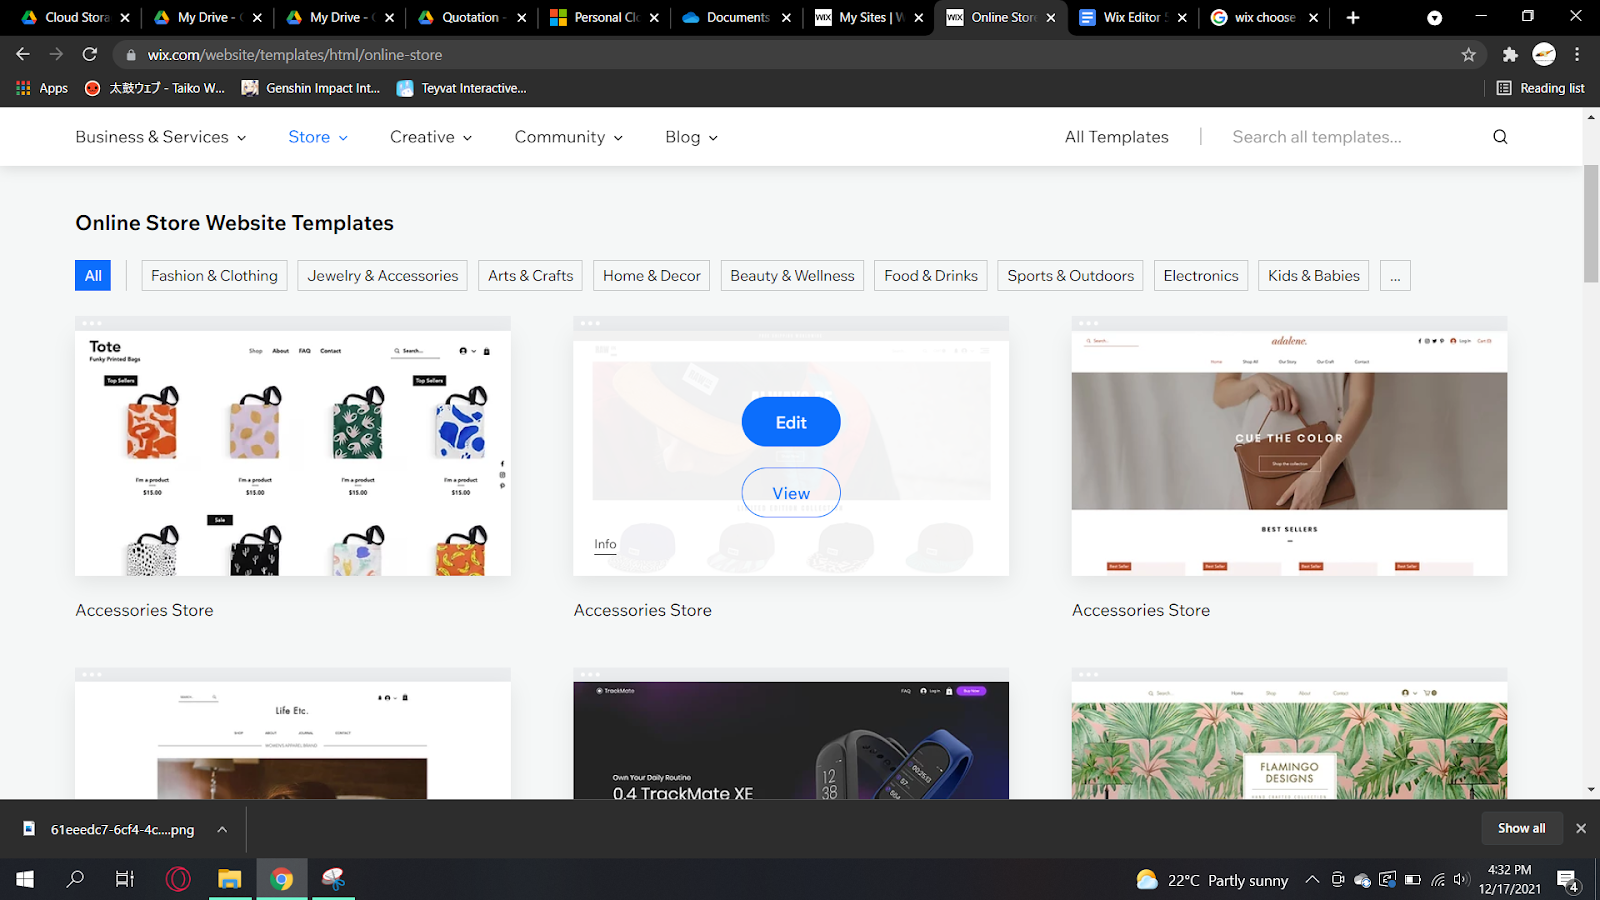
Next, Wix will show you a range of templates to choose from, based on your selection. On Wix, choices are never scarce, as you will find that there are over 800 templates to choose from. To preview the templates, hover your mouse over the template and click View. If you want to see more, click View Full Demo. To select a template, click on Edit.
Don’t worry if your selection is not perfect, Wix Editor is packed with features to allow you to customise your template and make it truly yours!
Wix also rolled out a Wix Editor X for advanced users. Stay tuned to our blog to learn more. Go here to learn more about different ways to edit your Wix website.
Step 3: Choose Your Plan
Wix offers 8 pricing plans for their users. As with any subscription plan, the more expensive the plan, the more features you get. There are also free plans available, however, you won’t be able to connect your own domain name to your website and there will be a permanent ad banner on your site. Therefore, we recommend a paid pricing plan, they’re affordable, there’s a plan for everybody and there are a myriad of included features.
The Wix Premium plans are as follows:
- Combo plan: $18/month ($14/month paid yearly)
- Unlimited plan: $23/month ($18/month paid yearly)
- Pro plan: $28/month ($23/month paid yearly)
- VIP plan: $47/month ($39/month paid yearly)
- Business Basic plan: $28/month ($23/month paid yearly)
- Business Unlimited plan: $33/month ($27/month paid yearly)
- Business VIP plan: $56/month ($49/month paid yearly)
- Enterprise plan: Custom pricing (for large businesses)
Go here to see all the available plans. Wix also regularly does promotions, don’t be afraid to grab yourself a good deal if you have the chance!
For small to medium businesses or online portfolios, we recommend the Combo plan, it’s affordable and gets you the most basic features you need. For more advanced users who need e-commerce capabilities, we recommend the Business Basic plan.
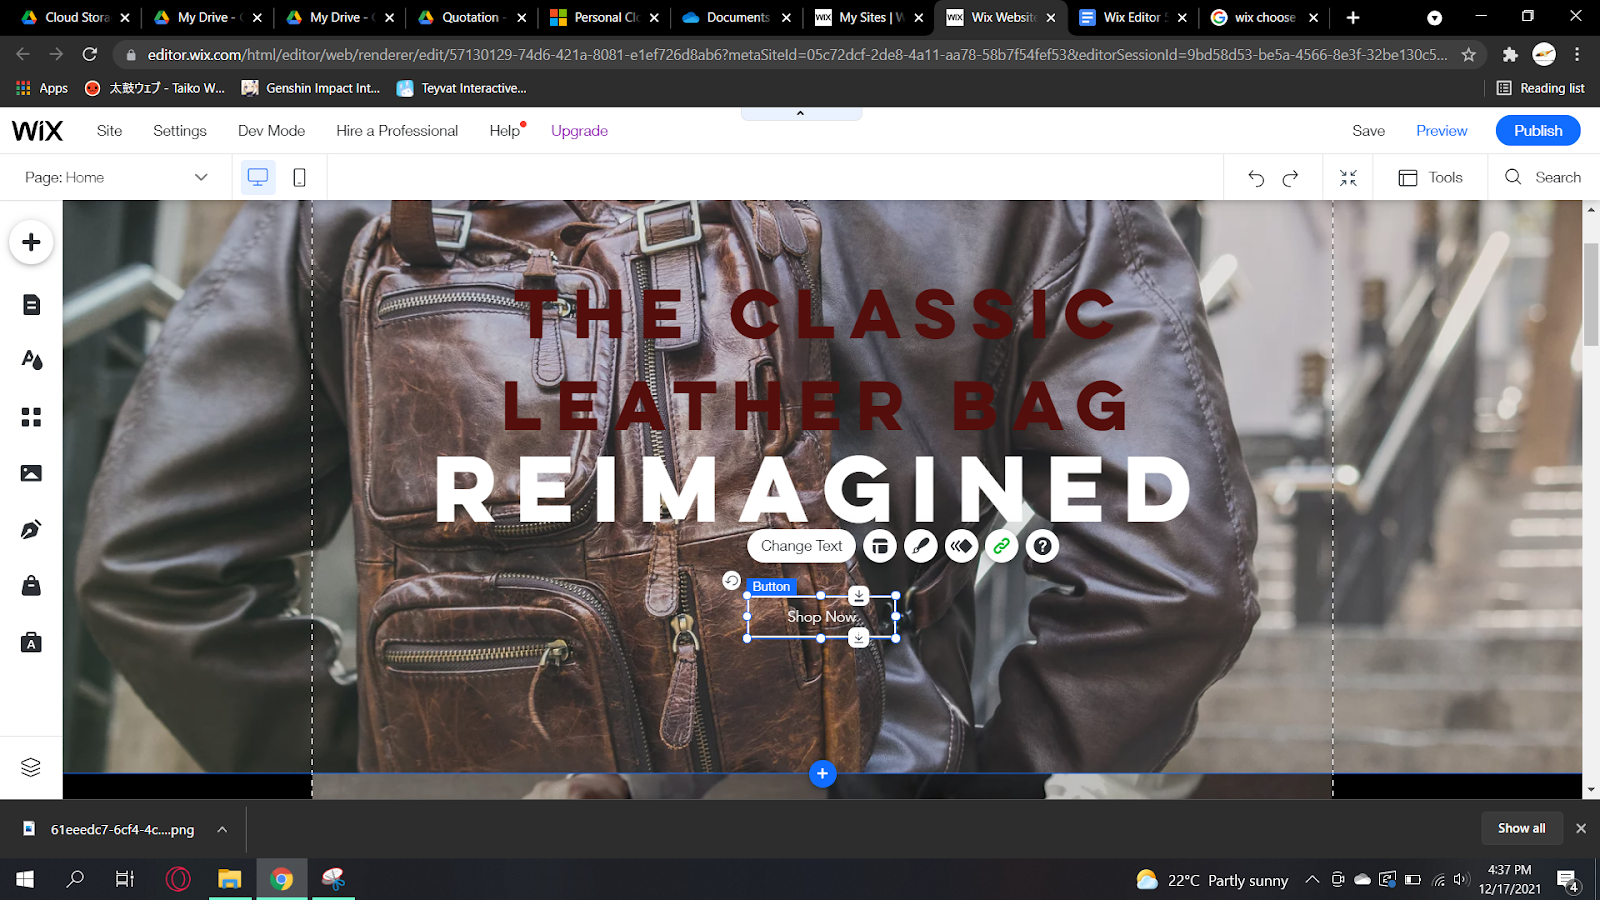
Step 4: Edit Text
Now that you have selected your template, you can start editing. Everything you see, including images, video, textboxes, backgrounds, and animations can all be edited to suit your needs and tastes.
To edit an element on Wix, simply click on the item once. Some buttons will pop up, select your desired actions such as Edit Text, or Design to edit.
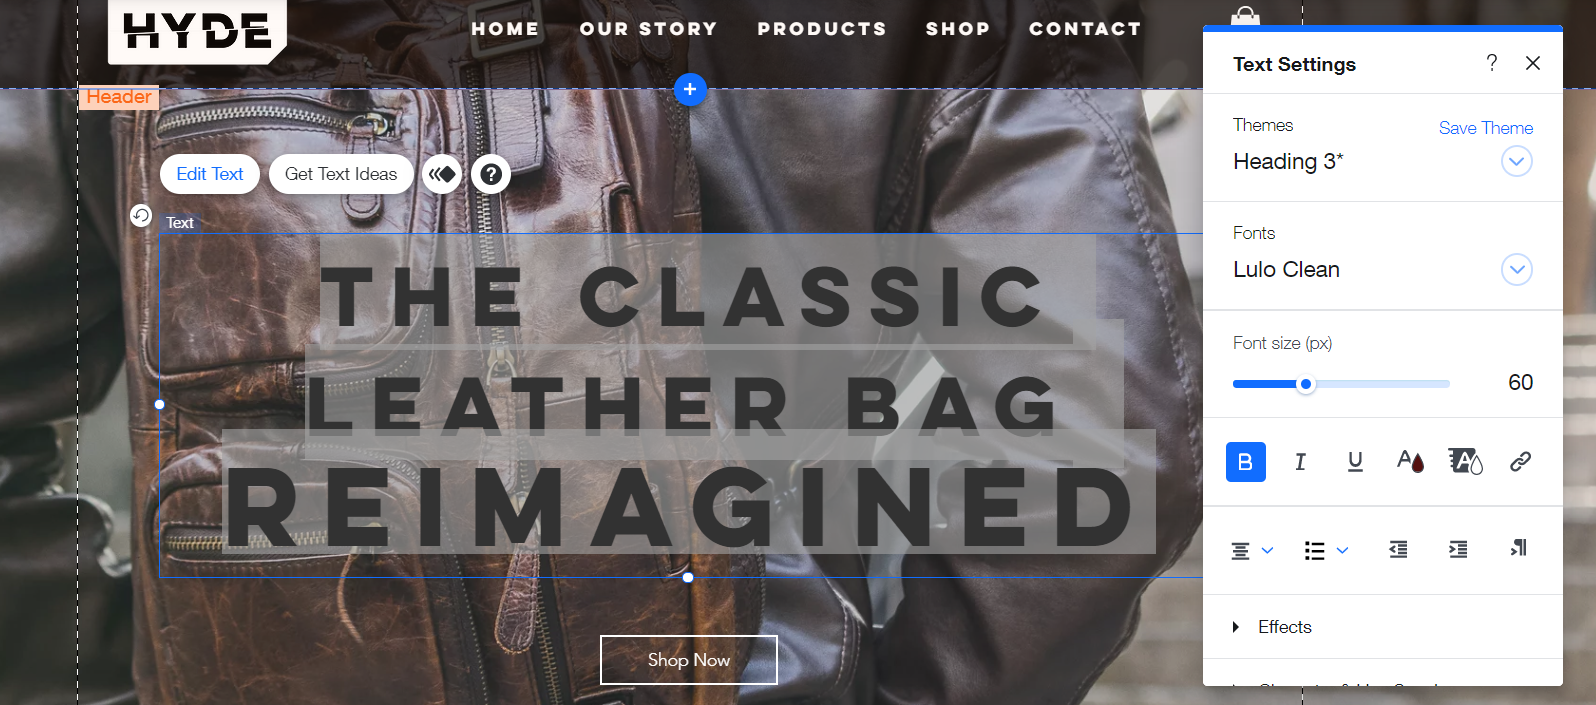
To edit Text, click on the text you want to change and select Edit. Start typing to add your own text! Besides adding your own text, you can also change the style, size and colour of the text.
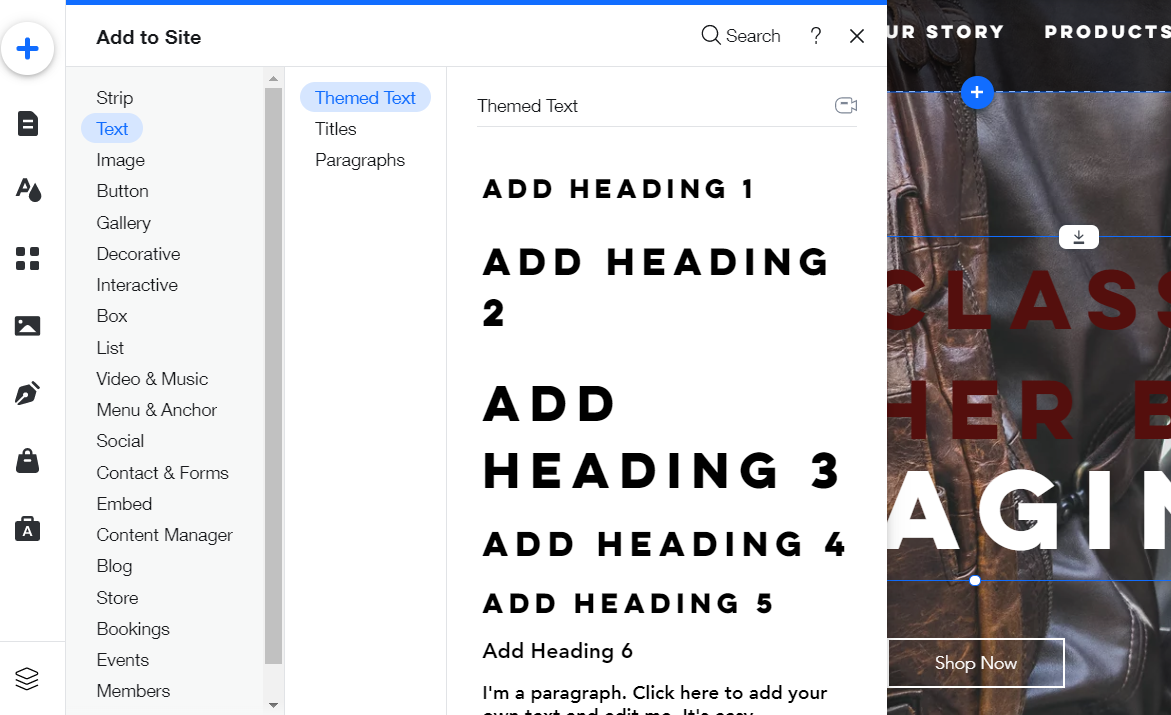
In addition, you can also add more text by dragging and dropping text boxes from the menu on the left. Select the plus sign on the left, go to text, and drag and drop your desired text box to the website.
In terms of buttons, editing text and style is the same. Just be sure to link the button to the page you like by clicking on the button and selecting the link icon.
Step 5: Edit Images and Backgrounds
Adding attractive imagery and colours to your website is essential to grabbing your viewers attention, and also provides visual context to your text. To change an image, simply click on an image on your webpage and select Change Image to change the image. You can select your own image by uploading and selecting your image, or you can choose from more than 3,700 free images courtesy of Wix!
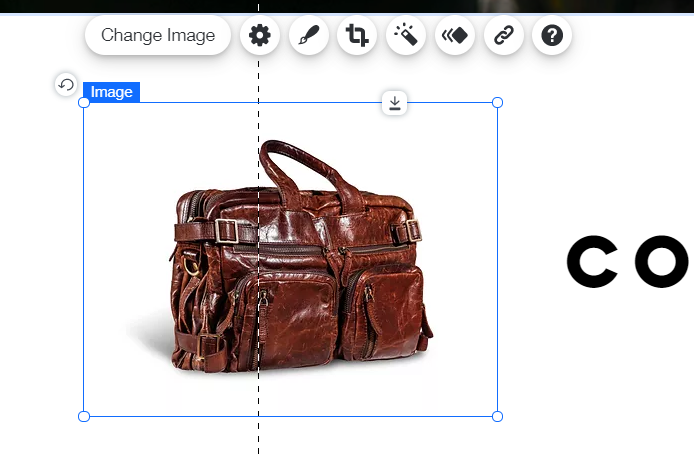
You can also add new images by clicking on the plus sign on the bar on the left hand side and dragging and dropping image boxes.
To really make your Wix website your very own, don’t forget to explore the vast array of boxes, galleries, animated banners and other features in the bar on the left! This is what makes Wix so great, it has something for everyone!
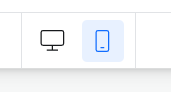
Step 6: Editing the Mobile Version
Now that you’ve adjusted your Wix website to perfection, there is only one last step to go! Since mobile users account for more than 54% of all internet users, having a mobile friendly website is absolutely essential to your website’s success! Having a bad website on mobile will deter more than half your visitors.
To edit the mobile version, simply click the mobile icon located on the top left of the Editor.
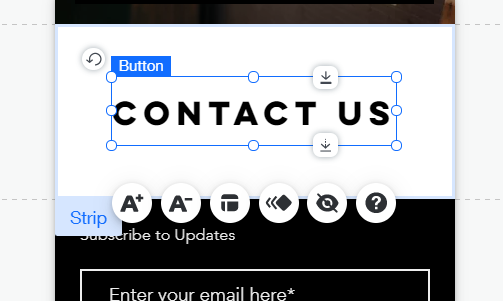
Please note that you will not be able to make changes to text style and images in the mobile version, however, you can change them by simply going back to the desktop version. The mobile version editor is designed for you to move images, text and other visual elements around to make it mobile-friendly. You can also hide certain elements that you think are unsuitable for mobile viewing by clicking the hide button. To make text fit inside the mobile version, click the text resize buttons to adjust the font size.
Step 7: Save and Publish
Don’t forget to save and publish your website to make it go live at the very end! As an extra tip, remember to save in between steps to avoid losing your progress.

Conclusion
And there you go! That was 7 simple steps on getting your first Wix site up and running. Stay tuned to our future blogs to get more free tutorials and web related tips! If you need help with professional web design, feel free to contact us!
Wix 是世界上最受歡迎的網頁建設及設計平台。它不但具備豐富的功能,而且帶有附加軟件和精美設計。最重要的是,它易於使用。然而,他數之不盡的功能可能會讓新用戶望而卻步。但是不用擔心,這個入門指南是您的好幫手!此指南將向您展示如何用 7 個簡單步驟去構建和設計您的心儀網頁。
在 Wix 上創建網頁有兩種方法:Wix ADI(人工智能設計)和 Wix Editor。在本教程中,我們將使用 Wix Editor。請務必留意未來的帖子以了解更多有關Wix的使用指南!
第 1 步:註冊
一旦您選擇了 Wix 作為您的建站平台,您要先創建一個帳戶。我們建議使用您的 Facebook 或 Google 帳戶進行註冊。您亦可以使用您的電子郵件去註冊。
第 2 步:選擇設計模板
註冊後,您就可以開始建立您的網頁了!要開始,只需單擊網頁儀表板右上角的「創建新站」鍵, Wix 便會隨即詢問您想要創建甚麼設計的網頁。現在,您只需在搜索欄中輸入關鍵字即可搜索相關形式。
Wix提供的形式非常多元化,包括網店及預訂網頁等形式。選擇好形式後,選擇「Wix Editor」。
接下來,Wix 將根據您的選項去展示一系列可供選擇的模板。在 Wix 上,選擇從不稀缺,因為它們提供 800 多種模板選擇。要預覽模板網頁設計,請將鼠標懸停在模板上並單擊查看。如果您想查看更多信息,請單擊查看完整演示。要選擇模板,請單擊「編輯」。
如果您對網頁的設計未滿意,不用擔心!Wix Editor具有多種功能,可讓您自行定義及改善模板設計去設計一個真正屬於您的網頁!
Wix 還為資深用戶推出了 Wix Editor X。 如果想了解更多,請繼續關注我們的博客。 轉到此處了解更多編輯 Wix 網站的不同方法。
第 3 步:選擇您的訂閱計劃
Wix 為用戶提供 8 種定價訂閱計劃。與任何訂閱計劃一樣,計劃價格愈高,您可獲得的功能就越多。Wix也有提供免費的計劃,但就不能將自己的域名連接到您的網頁,而且您的網頁上亦會有一個固定的廣告橫幅。因此,我們推薦訂閱實惠的付費計劃,必定有一個符合您的個人需要。
Wix Premium 計劃包括:
- Combo計劃:18 美元/月(每年支付 14 美元/月)
- Unlimited計劃:23 美元/月(每年支付 18 美元/月)
- Pro計劃:28 美元/月(每年支付 23 美元/月)
- VIP 計劃:47 美元/月(每年支付 39 美元/月)
- Business Basic計劃:28 美元/月(每年支付 23 美元/月)
- Business Unlimited計劃:33 美元/月(每年支付 27 美元/月)
- Business VIP 計劃:56 美元/月(每年支付 49 美元/月)
- Enterprise計劃:自定義定價(適用於大型企業)
去這裡查看所有可用的計劃。 Wix 還會定期進行促銷活動,如果有機會,請不要害怕為自己搶購!
對於中小型企業,我們推薦訂閱 Combo 計劃。它的價格實惠,並能為您提供最實用的基本功能。對於需要電子商務功能的用戶,我們則推薦Business Basic 計劃。
第 4 步:編輯網頁內容
現在您已經選擇好網頁模板,您就可以開始編輯了。您看到的所有內容,包括圖像、視頻、文本框、背景和動畫,都可以根據您的需要和喜好進行編輯。
要在 Wix 上編輯網頁內容,只需單擊該項目一次就會彈出一些按鈕。之後,選擇您想要的操作,例如編輯文本或設計以進行編輯。
要編輯文本,請單擊要更改的文本並選擇「編輯」就可以添加您自己的文本了!除了添加自己的文本,您亦可以更改文本的樣式、大小和顏色。
此外,您也可以通過左側菜單中拖放文本框來添加更多文本,然後將所需的文本框拖放到網頁上。
在按鈕方面,編輯文本和文本設計是一樣的。記得要通過單擊按鈕並選擇鏈接圖標將按鈕鏈接到您喜歡的頁面。
第 5 步:編輯圖像和背景
在網頁上添加有吸引力的圖像和顏色對於吸引觀眾的注意力至關重要,並且能為您的文本提供一個視覺背景。想更改圖像,您只需單擊網頁上的圖像並選擇「更改圖像」,便可更改圖像。您可以上傳您心儀的圖片來選擇您自己的圖片,也可以從 Wix 提供的 3,700 多張免費圖片中進行選擇。
您亦可以通過單擊左側菜單欄上的加號及拖放圖像框來添加新圖像。
要真正讓您的 Wix 網頁成為您自己創造的網頁,請不要忘記探索左側欄中的文本框、圖像畫廊、動畫橫幅和其他功能。Wix的服務適合每一個人,所以透過這些非凡有多元化的功能,就可以明白到Wix 如此出色的原因!
第 6 步:編輯手提電話網頁版本
您現已將 您的Wix 網頁調整好,只需要做最後一步,就可以發佈您的網頁了!由於手提電話使用者佔所有互聯網用戶的 54% 以上,您需要有一個適合手提電話及其他移動設備的網頁。要記住,有一個糟糕的手提電話網頁有機會阻止一半以上的用戶去到訪您的網頁,令您的爆光率減低。
要編輯手提電話網頁版本,只需單擊位於編輯器左上角的移動圖標。
請注意,雖然您無法在手提電話網頁版本中更改文本樣式和圖像,但您只需返回到桌面版本就可以編輯及更改它們。手提電話網頁版的編輯器能為您移動圖像、文本框和其他視覺元素的位置去領您的網頁更加適合手提電話及其他移動設備。您亦可以單擊「隱藏」按鈕去隱藏您認為不適合手提電話網頁版的元素。要使文本框適合手提電話網頁,請單擊您的文本框以調整字體大小。
第 7 步:保存和發佈網頁
最後,不要忘記保存及發佈您的網頁呢!我們另外想提示您,請記住在每個步驟之間按一次「保存」以避免喪失進度。
結論
恭喜您,您的網頁完成了!希望這個Wix的啟動指南能幫助到您創立及設計您的第一個網頁。請繼續關注我們未來的文章,以獲得更多免費教程和相關指南!
如果有香港網頁設計的需要,可以隨時聯絡我們!

Alaric is an aspiring entrepreneur and web designer currently building his career and pursing an postgraduate education. In his spare time, he loves to game, read and do a variety of different passion projects.


.webp)